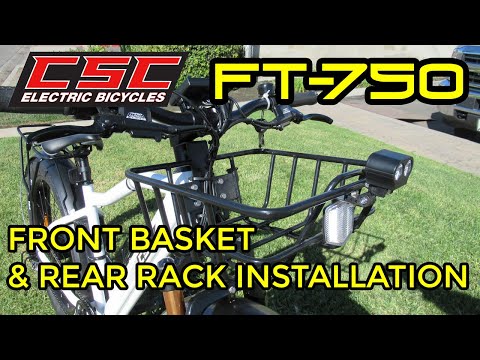
Author: CSC Motorcycles via YouTube
Go to Source
https://csc-ebikes.com/ or call (909) 445-0900
https://csc-ebikes.com/basket-front-carrier-rack-black-color-fits-20-26/
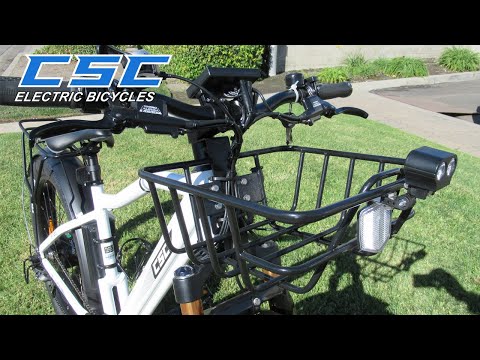
A front basket or rear rack adds utility to your FT-750 and allows you to carry far more stuff making them a very useful addition for commuting, a casual ride, or even your next long distance EPIC.
TOOLS NEEDED
• 5mm Allen
• (2) 10mm wrenches
• 18mm wrench
• Side cutters
• Philips screwdriver
• Soft face hammer
• Star nut driver
REAR RACK CONTENTS
• (2) short 6 x 10mm hex bolts
• (2) long 6 x 15mm hex bolt
• (3) 5mm washers
• (2) large 6mm washers
• 5mm locknut
FRONT BASKET CONTENTS
• Bottom basket bracket
• Top basket bracket
• Star nut
• (4) 6 x 15mm hex bolts
• 6 x 45mm hex bolt
• (4) 6mm lock nuts
• (9) 6mm washers
• Large zip tie
REAR RACK INSTALATION
• On the 2021 XP models, Rear rack can not be accommodated without repositioning the right rear tail light.
• With a Phillips screwdriver, remove right rear tail light. Install the 5mm bolt, washers and nut on the light. Snug but leave the nut slightly loose so the bolt is free is spin. Screw in the assembly into the lower threaded 5mm hole. Take caution, Plastic tail light will break if over tightened.
• If additional clearance is needed, with a 18mm wrench, loosen the axle nut and reposition the derailleur guard. Firmly retighten nut
• With a 10mm wrench, loosely install the rack bolts with washers until all (4) bolts are installed. Evenly tighten and readjust rack if necessary.
FRONT BASKET INSTALATION
• Flip over your FT750 and rest the grips on an elevated soft surface so not to cause damage to the controls or LCD screen
• Lift quick release and loosen skewer. Carefully lift out and remove front wheel
• Using a star nut driver and soft face hammer, Install the star nut in the steerer tube. If a star nut driver is not available, use the long 6mm bolt supplied with the rack and a soft face hammer to carefully to carefully drive the nut ½ inch into the steerer tube.
• Removing the forks and bringing to your local bike shop is also an option
• Install the bottom basket bracket with the long 6mm bolt and washer. Leave loose enough to adjust
• Install front tire. Screw in skewer cap enough so firm pressure is needed to close quick release
• Carefully flip over bike right side up
• Using a Phillips screwdriver, remove the reflector
• Using a 5mm Allen, remove the top cap and loosen the (2) stem pinch bolts
• Remove handlebar stem from steerer tube
• Remove the short 5mm and (2) larger 10mm spacers but leave the wide flanged spacer on the steerer tube
• Install Top basket bracket
• Install the (2) larger 10mm spacers. The shorter 5mm spacer will not be used
• Install the handlebar stem
• Install the top cap and torque to 5nm or until there is no play in the steering head bearings
• Tighten stem pinch bolt bit leave loose enough for adjustment
• Using the (4) 6mm bolts, washers and nuts, install the front basket. Loosely install hardware until all (4) are installed. Evenly tighten and readjust if necessary.
• Make final adjustments and tighten handlebar stem and pinch bolts.
• Tighten lower basket bracket bolt
HEADLIGHT RELOCATION
• Using (2) 10mm wrenches remove the headlight from the fork crown
• Using an 8mm wrench remove the white reflector from the stem bracket
• Using (2) 10mm wrenches remove the stainless “L” bracket from the headlight assembly
• On the front of the basket, assemble the front reflector and stainless “L” bracket
This is the new perch for the headlight
• Insert the 6x40mm bolt with washer in the headlight, underneath insert the spacer
• Install headlight assembly on the “L” bracket with washer and nut. Position and tighten
• With a Phillips screwdriver, loosen and position the headlight
• Route the USB and headlight wires underneath basket
• Connect headlight connector, caution, it only goes in one way. Line up internal tabs or arrows on the connector
• Use the supplied small zip ties to secure wiring and USB charging cable
• Use the supplied large zip tie to the secure the wiring harness to the basket bracket
• Turn handlebars to confirm there is no wire pinching
• Although this installation is on a 26” FT750. Steps are identical on the 20” model
• 5x15mm bolt
• 8mm wrench
• Small zip ties
• Large zip ties
• Headlight relocation hardware
Even though installation is straight forward, it may be challenging for some. So if you feel you can not preform any of these steps please take your FT750 to your local bike shop.
Unfortunately, because of packaging constraints, racks can not come pre installed but any accessory when ordered with your FT-750 ship for free.
(Anything over $100 ships for free)
Remember your owner’s manual is online at csc-ebikes.com or if you prefer, just give us call.