How To Dial In Your Suspension
admin
Little different from the suspension found on high-end racing motorcycles, modern mountain bike suspension is a marvel of technology. Air-sprung shocks and forks especially have incredible controls that not only help make riding safer and more fun, but also provide a much smoother ride. The only caveat here is that, in order to deliver the performance as intended, the suspension has to be set up correctly.
 1. Start with your shock and fork at the fully open position. It can say “open” or “fast.”
WHAT IS SAG?
Sag is the measurable amount of suspension compression due to the sprung weight of the rider and gear. Too much sag means too low of a spring rate (not enough air pressure), which also means you’ll bottom out more easily and not fully benefit from the suspension design. It also is a very inefficient way of using the travel and negates the geometry of the bike. You can imagine the same thing happening to a car. If the springs and shocks aren’t strong enough to handle the weight of the car, it can at best hit the bottom of the suspension travel too easily and give you a bumpier ride, or at worst you can hit the bottom of the car over dips or bumps and damage the car.
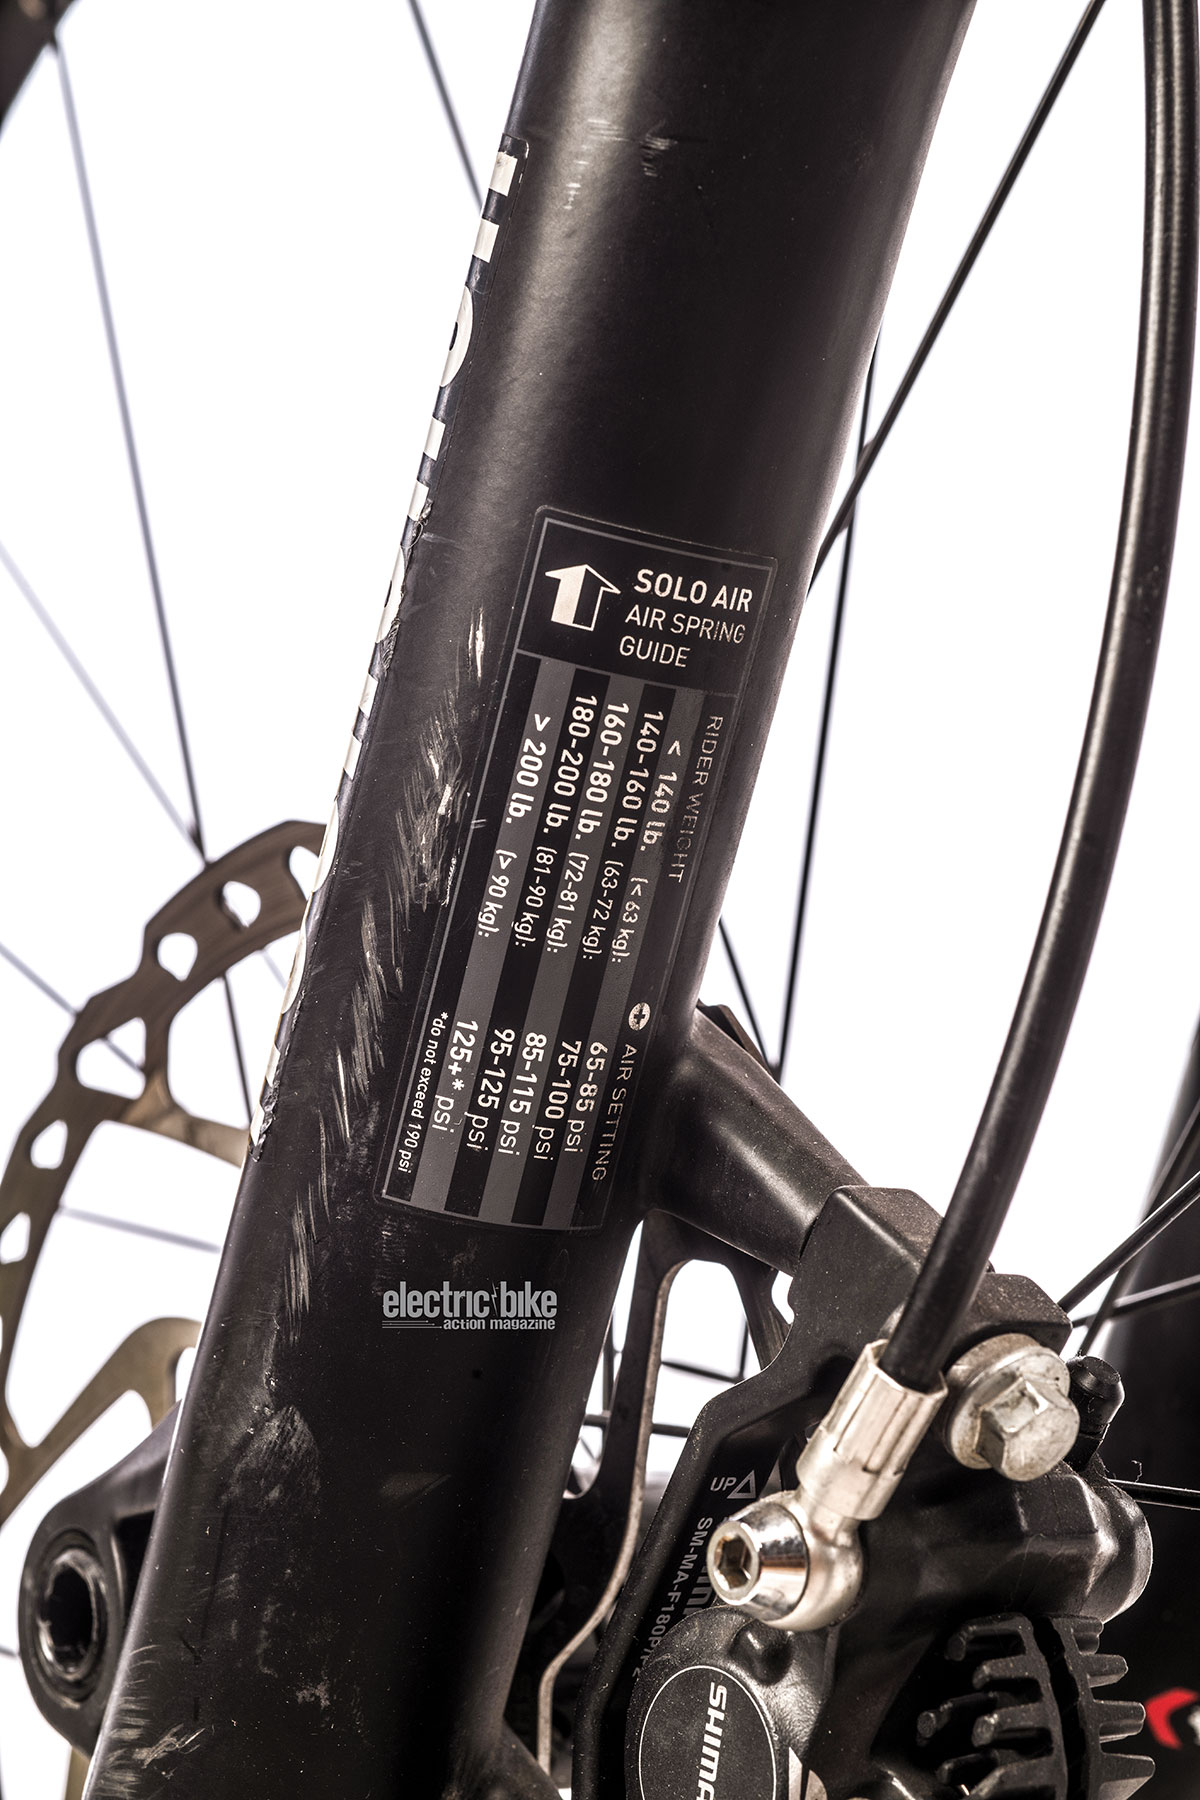 2. Starting points for pressure may be listed on the fork and are usually on the manufacturer’s website.
If you have too little sag (i.e., where the spring rate is too high), the rider won’t be able to utilize full travel. The bike won’t respond well to smaller bumps, which means you’ll lose contact with the ground over much smaller bumps as the bike is skipping over objects on the trail.
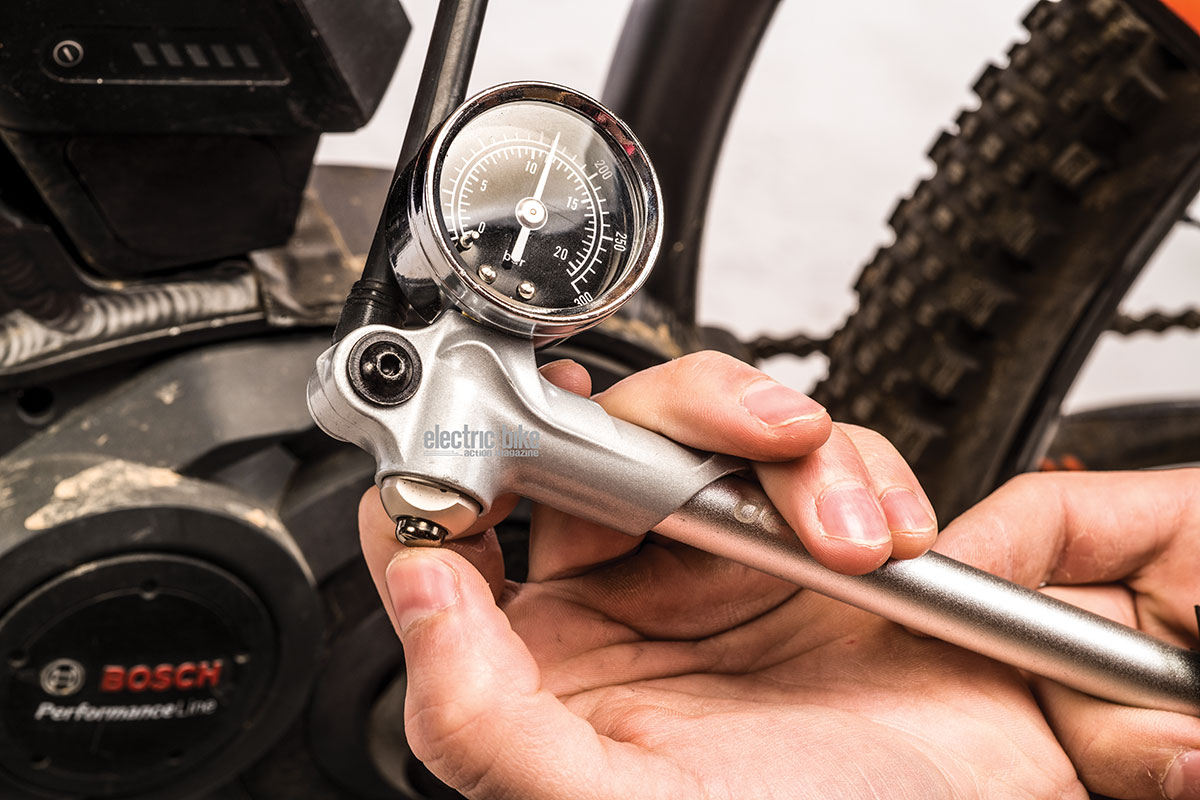
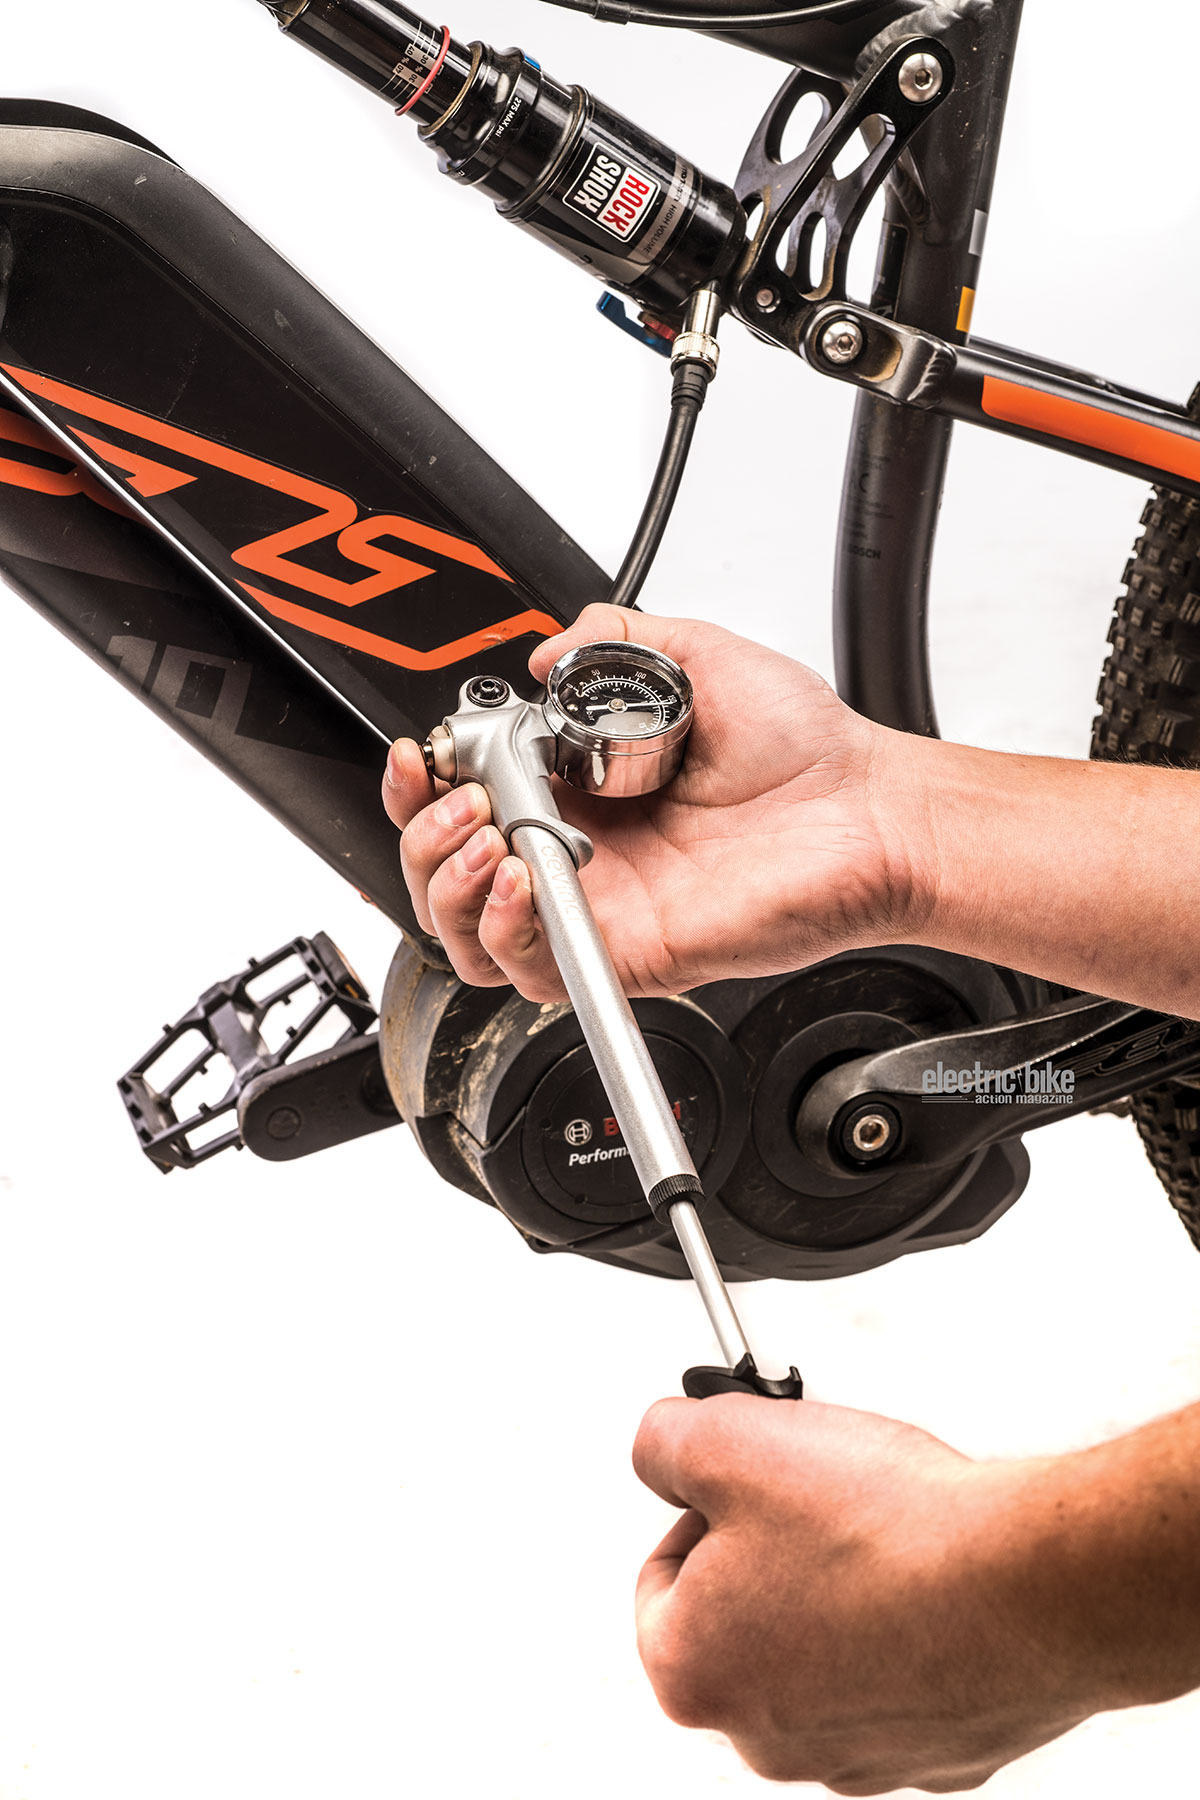 3. Use a good shock pump to get up to the manufacturer’s recommended pressure to start.
In general, you’ll want to set your sag for 20–30 percent of the full range of travel. The amount depends on the type of riding you’re doing. For XC riding, you can run lower sag, around 20 percent, which maintains efficiency and offers higher and steeper geometry. For all-mountain riding, it’s better to run around 25–30-percent sag, which offers a balance of capability as far as better bump response and retains some of that efficiency. If you’re riding downhill, which probably means you have much longer travel, go for around 30-percent sag to maintain optimum traction and control. It slackens and lowers the geometry for a more stable, better-cornering bike.
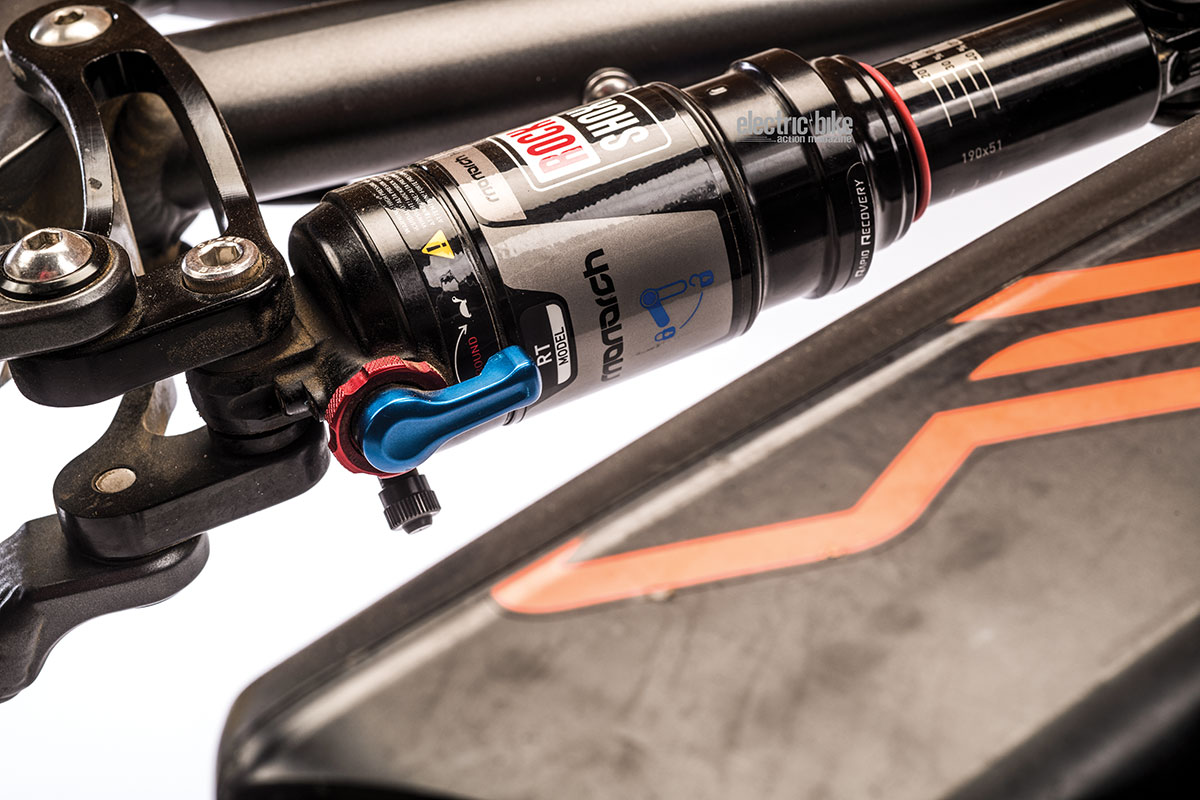
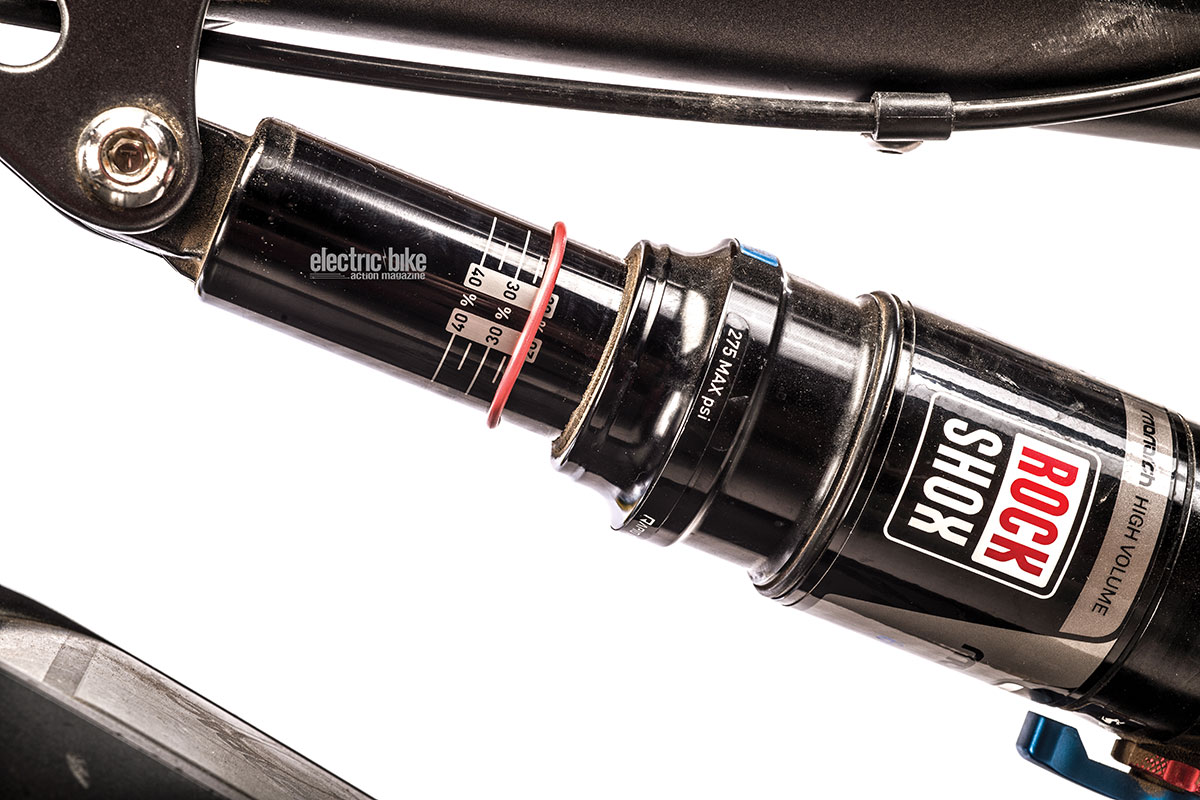
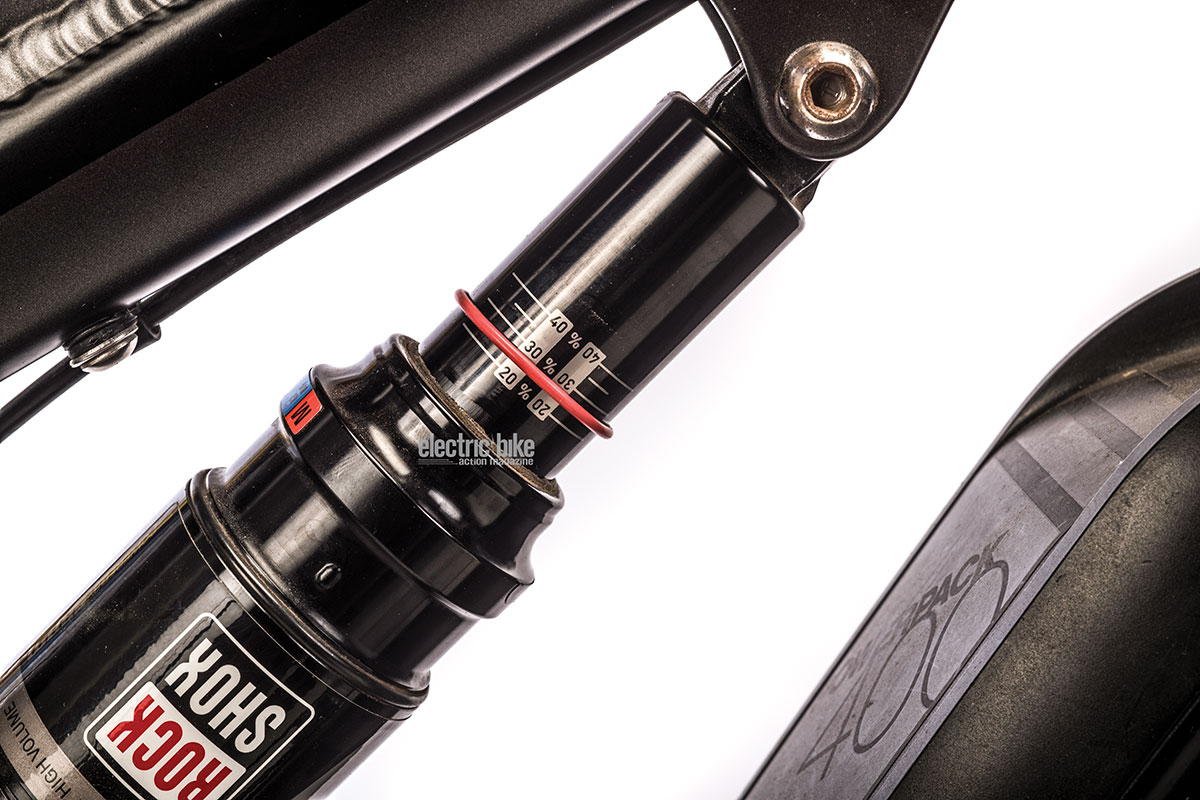
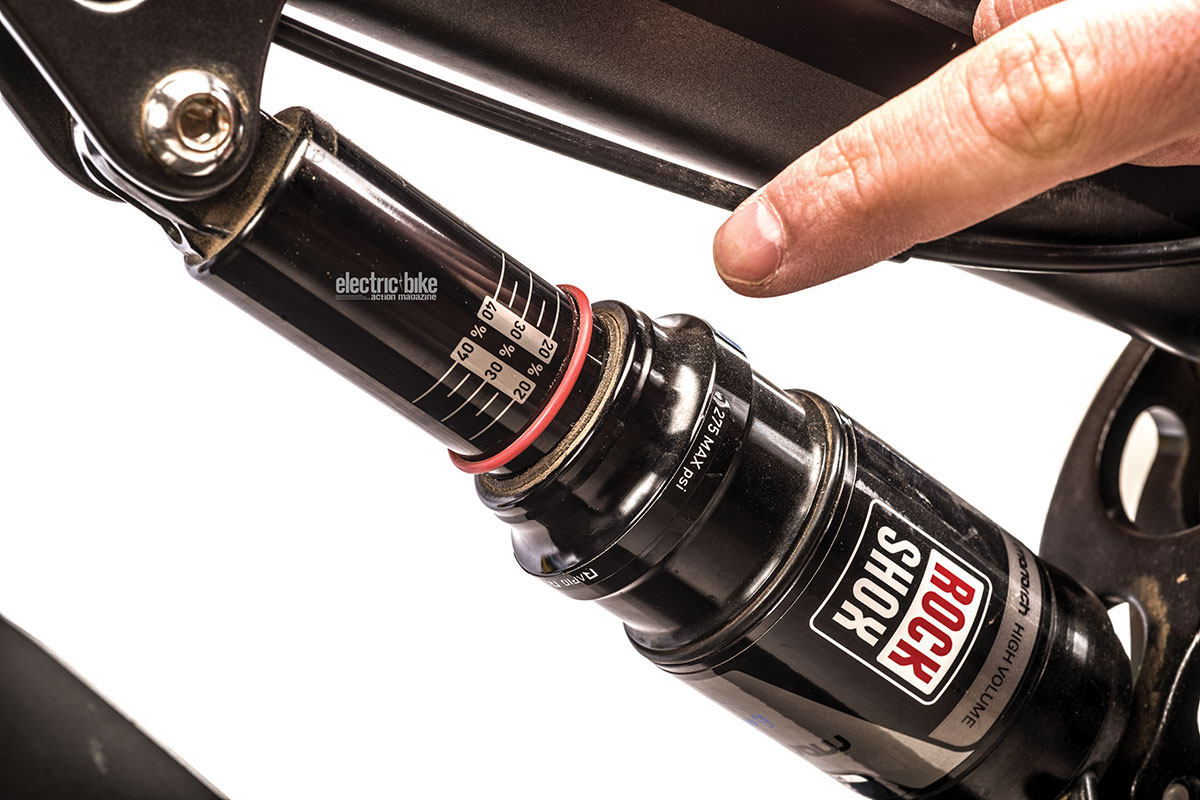 4. There’s an O-ring on every shock and fork, or you can use a zip-tie temporarily.
SETUP
First things first, be sure to check for the manufacturer’s recommended spring rate, whether it’s coil- or air-shock setting. Those are typically listed by the manufacturer. On the shock, it’s important to know what the stroke length is as well. Sometimes they’re listed on the fork, other times on the manufacturer’s website. When you’re starting to set up your spring rate, you want to start with the rebound and compression dampers completely open (fast).
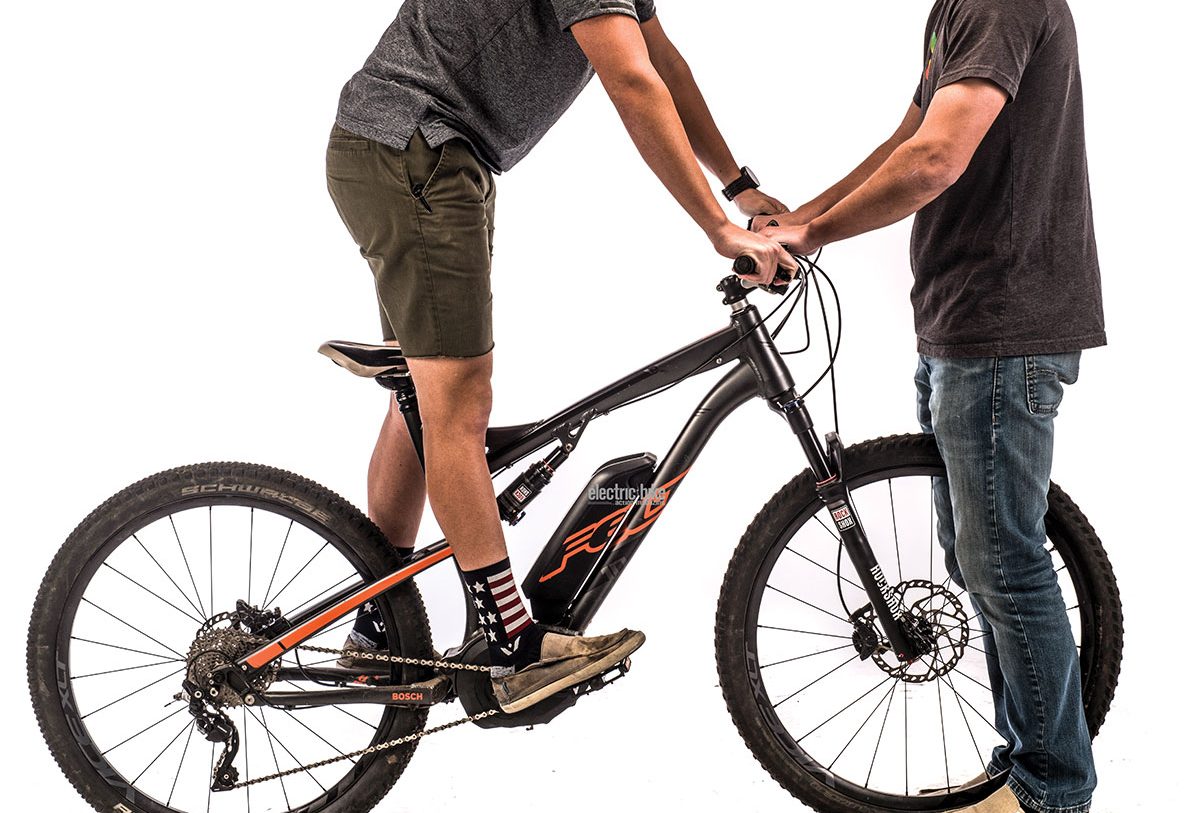
5. It really helps to have someone to hold the bike in place so you can climb aboard and measure. Make sure you wear all the gear you’ll ride in, including your pack. A light (not really hard) bounce can help, then carefully step off to measure sag.
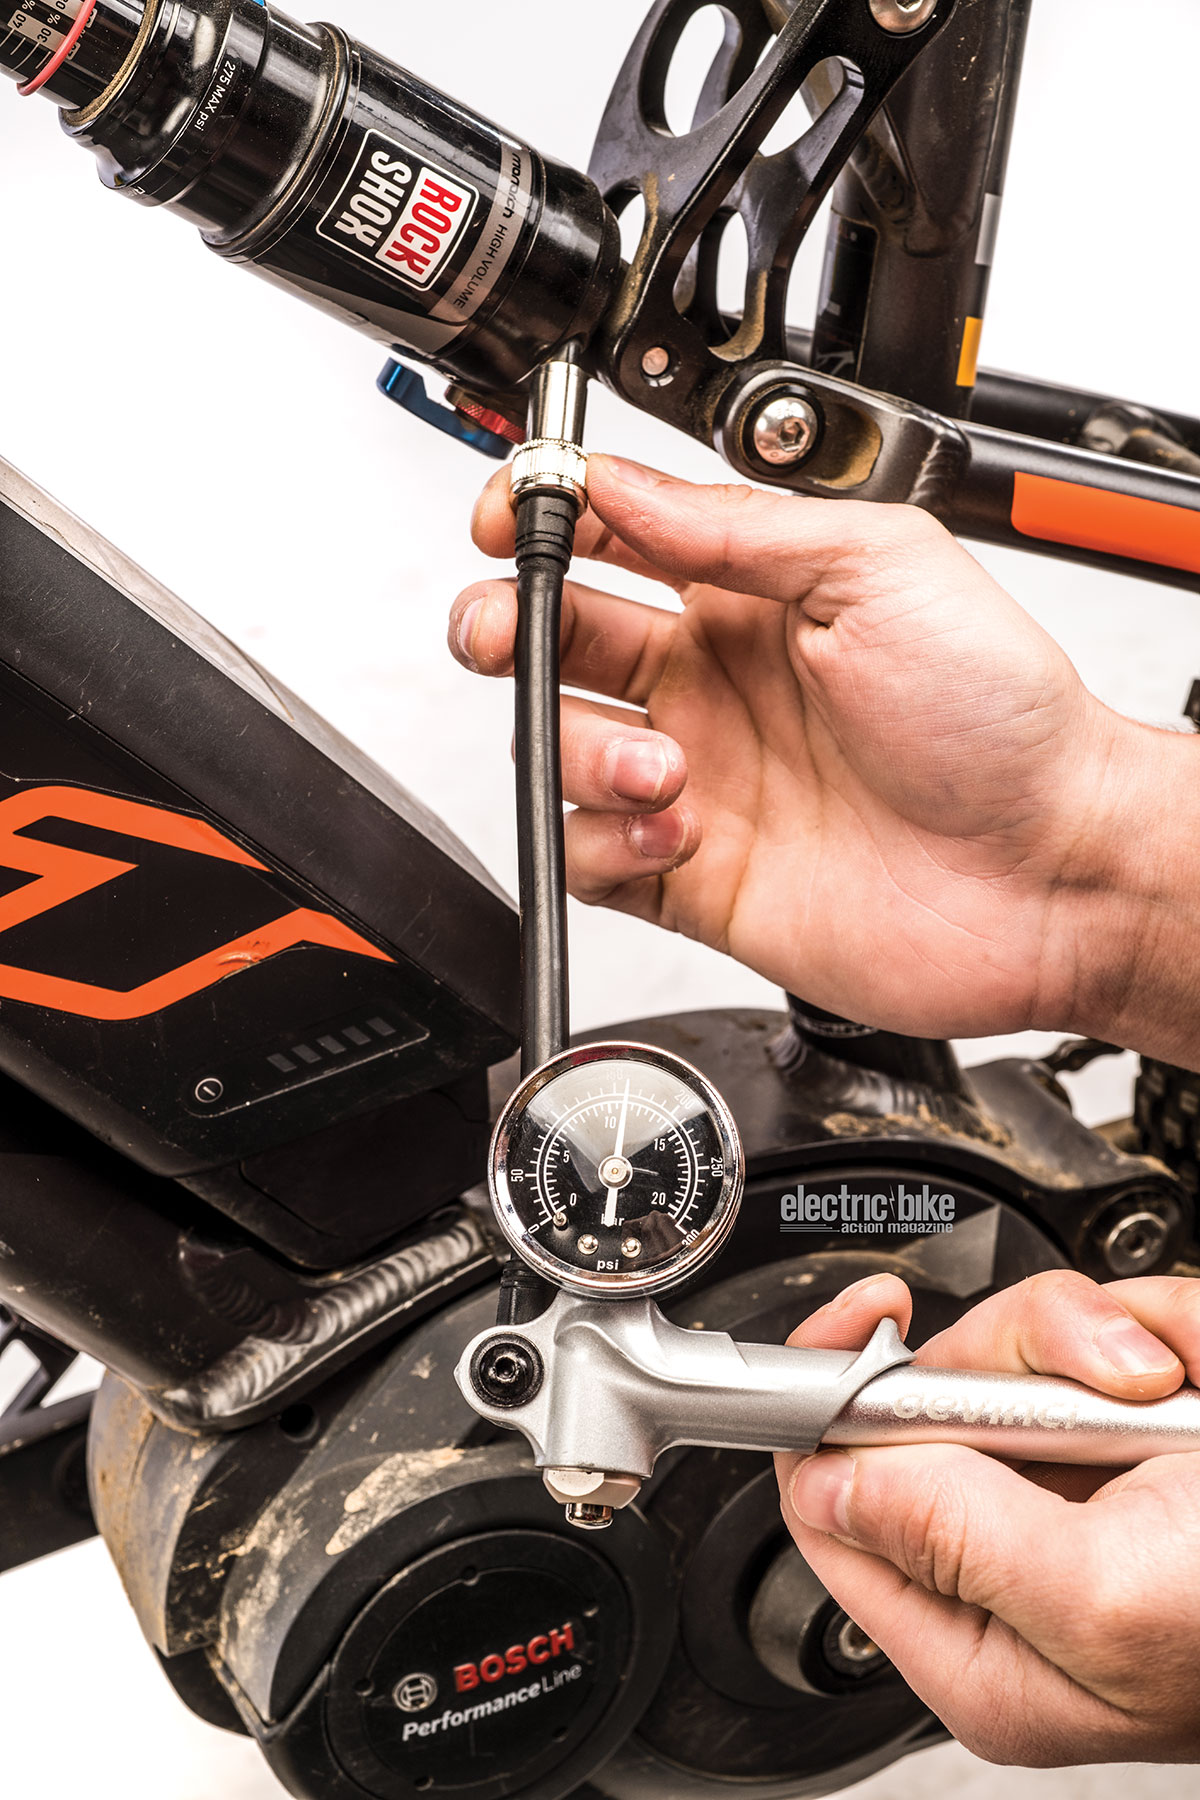
Next, fill the shock and fork to the recommended pressures using a shock pump. After putting in the initial pressure, take off the shock pump, then cycle through the shock travel and put your weight on it to properly pressurize the negative air spring, especially with the new shocks with larger negative spring volumes. Chances are you’ll have to pump a few more psi into the fork or shock once the negative air spring has what it needs.
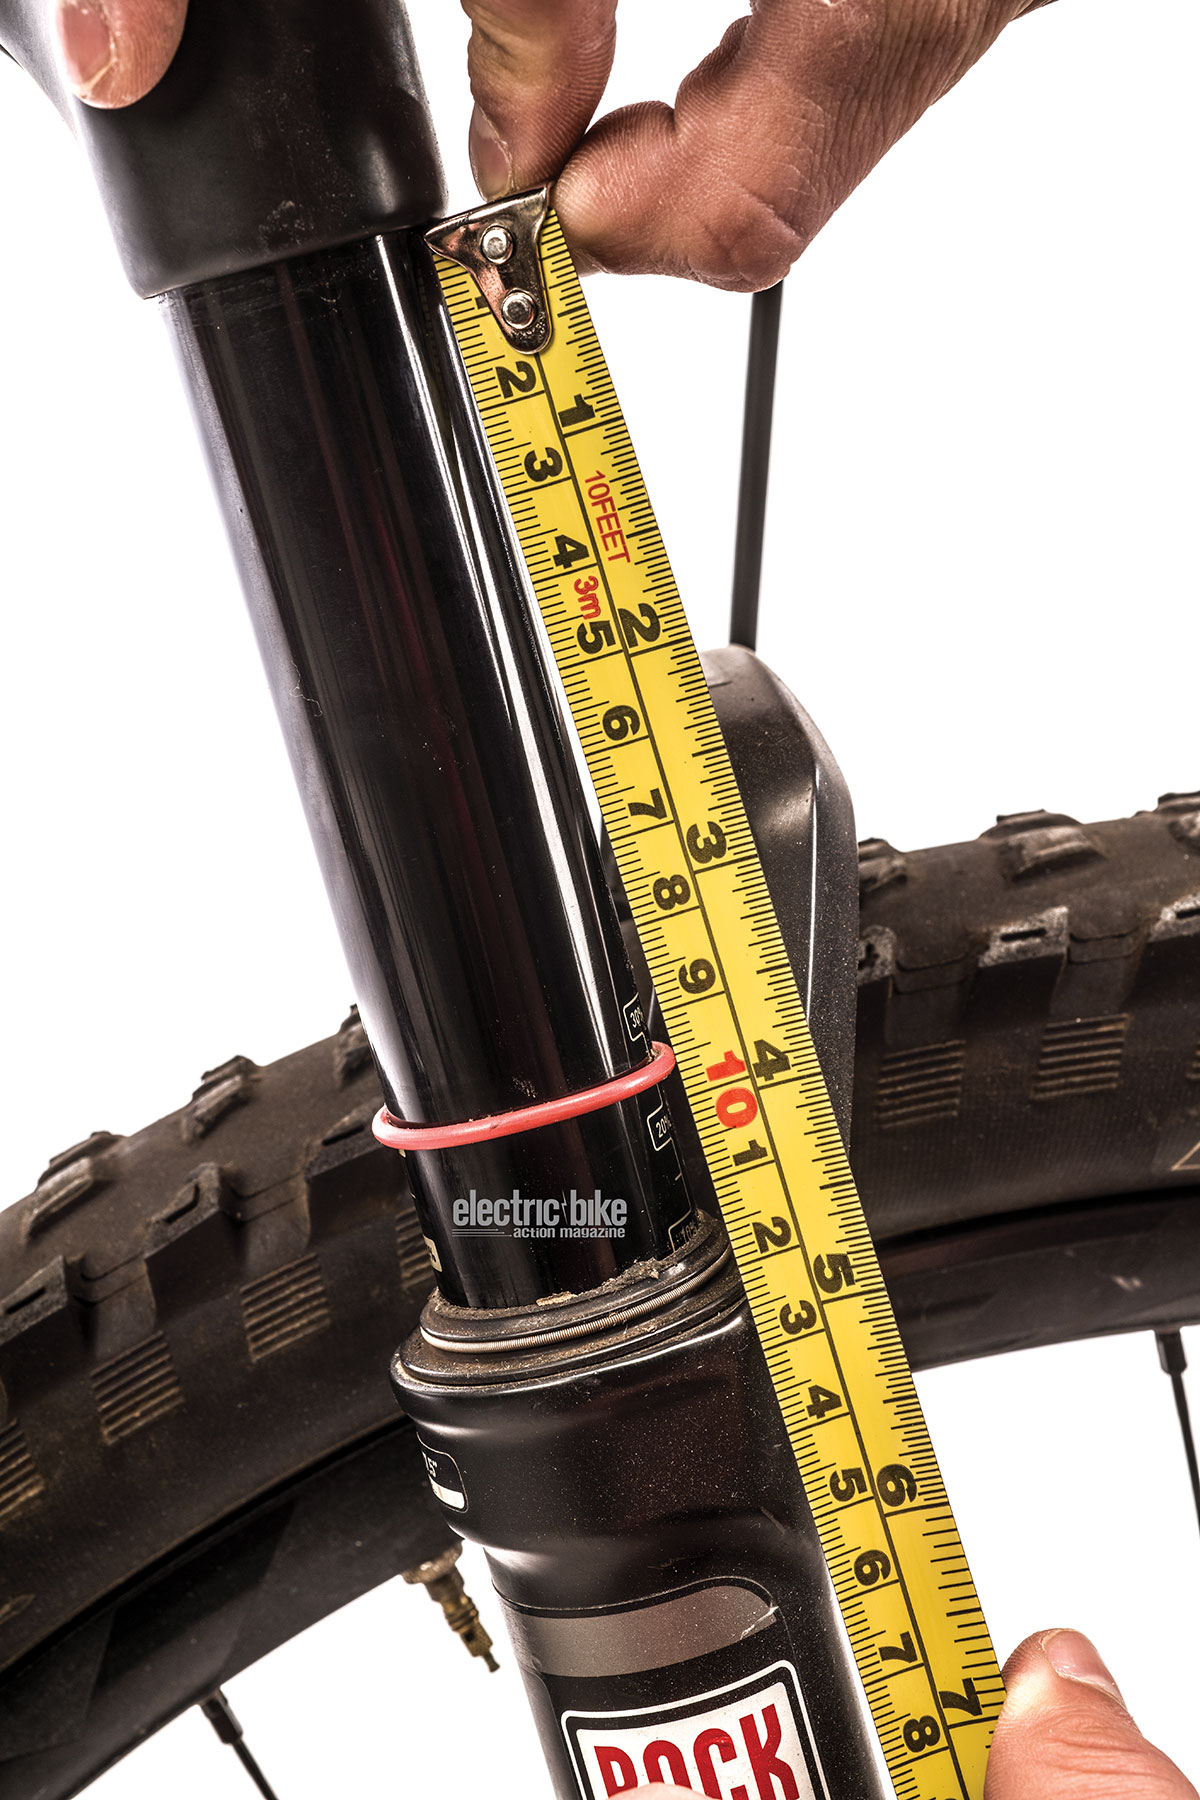
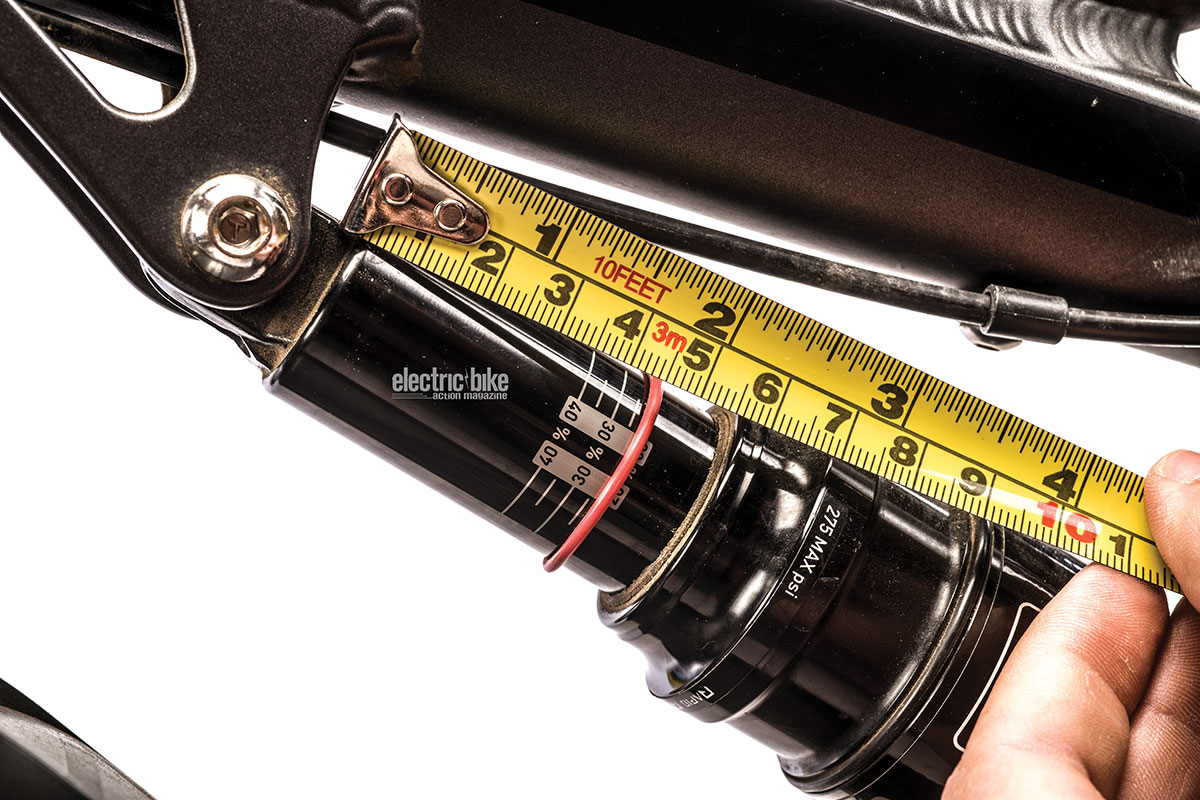 6. If your shock or fork doesn’t have measurement marks, you can measure the distance of the O-ring versus the length of the travel.
Your shock should have an O-ring to help set sag. If it doesn’t, you can use a zip-tie around the shaft or stanchion to measure, but take it off before you ride so you don’t end up scratching the surface, which can reduce the life of your suspension.
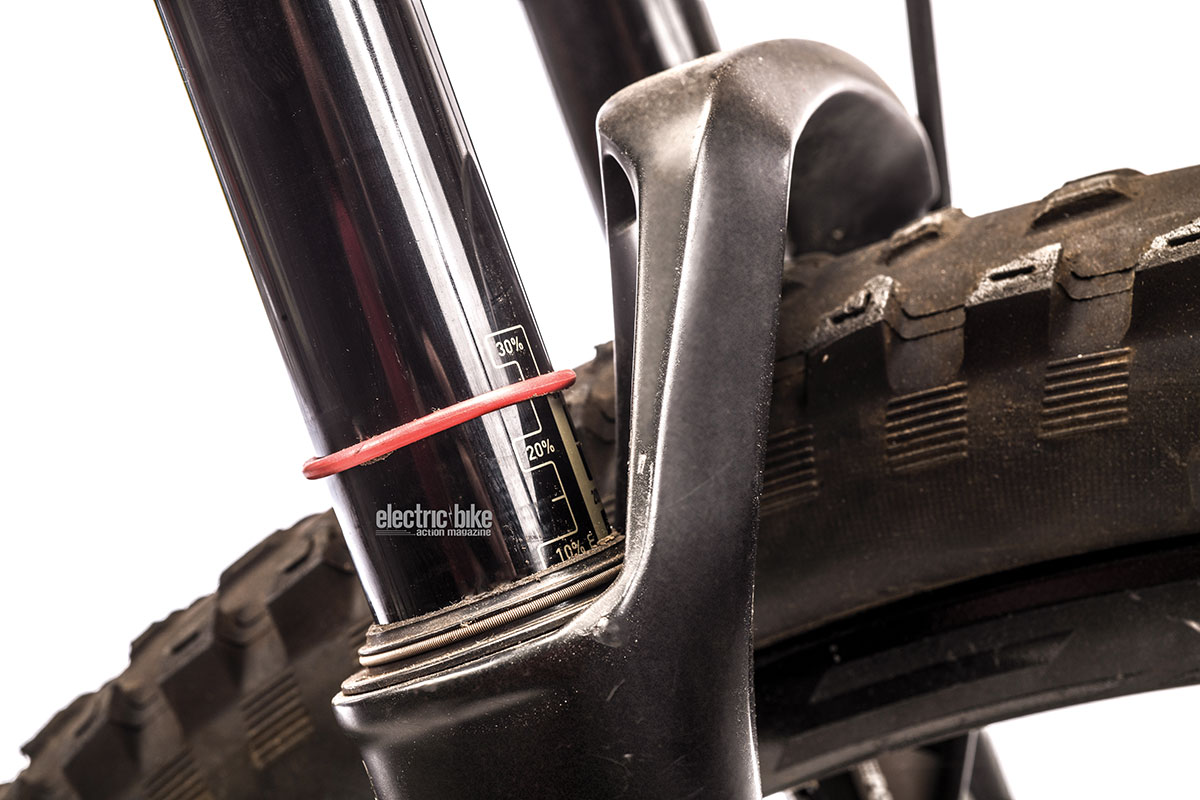
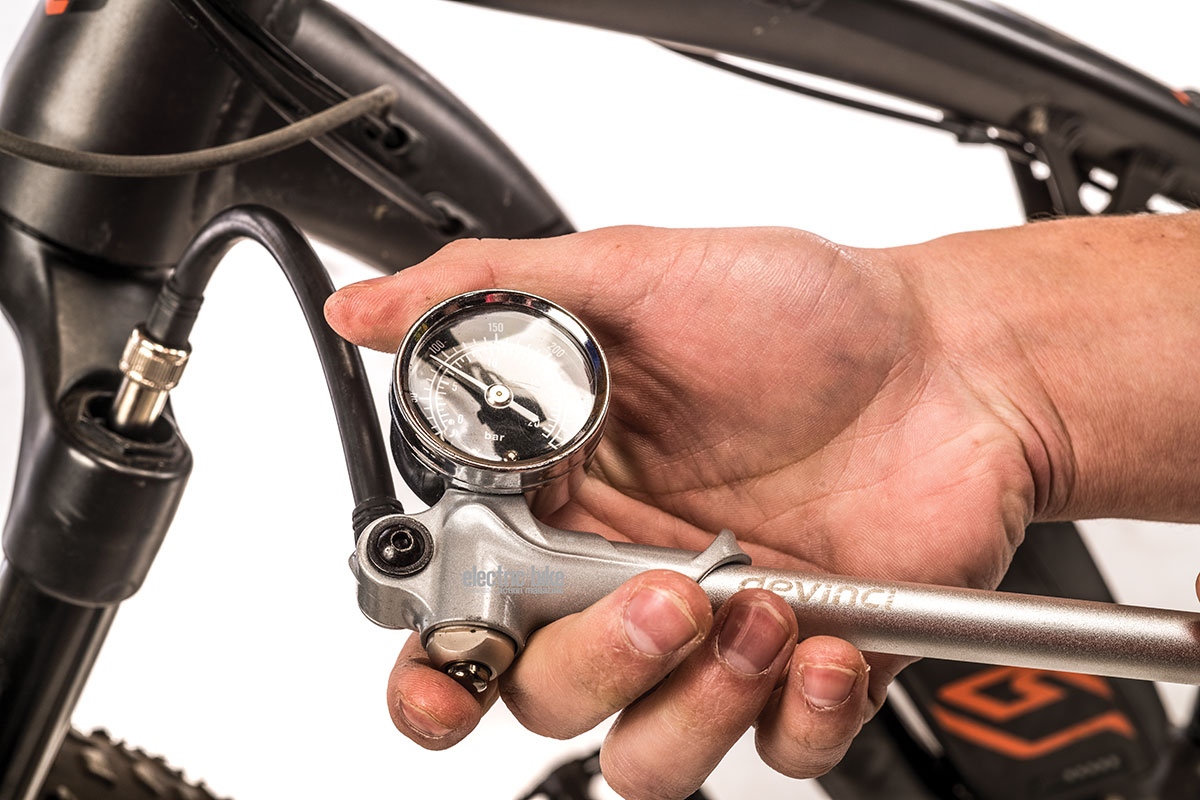
7. The amount of sag depends on the type of riding and your personal preference. Use the bleed valve to reduce pressure accurately.
Reset the O-rings against the seal, then mount the bike with the gear you’re going to wear, including the amount of water in your reservoir or bottle(s) if you’re carrying it. It helps a lot here if you have a friend who can hold the bike steady while you do this. Bounce and settle, then dismount carefully without compressing the suspension as you get off the bike. RockShox has helpful markings on the stanchions to measure sag, whereas other brands may not. In that case, measure the distance from the wiper to the O-ring, then divide that distance by the total stroke length to get your percentage of sag.
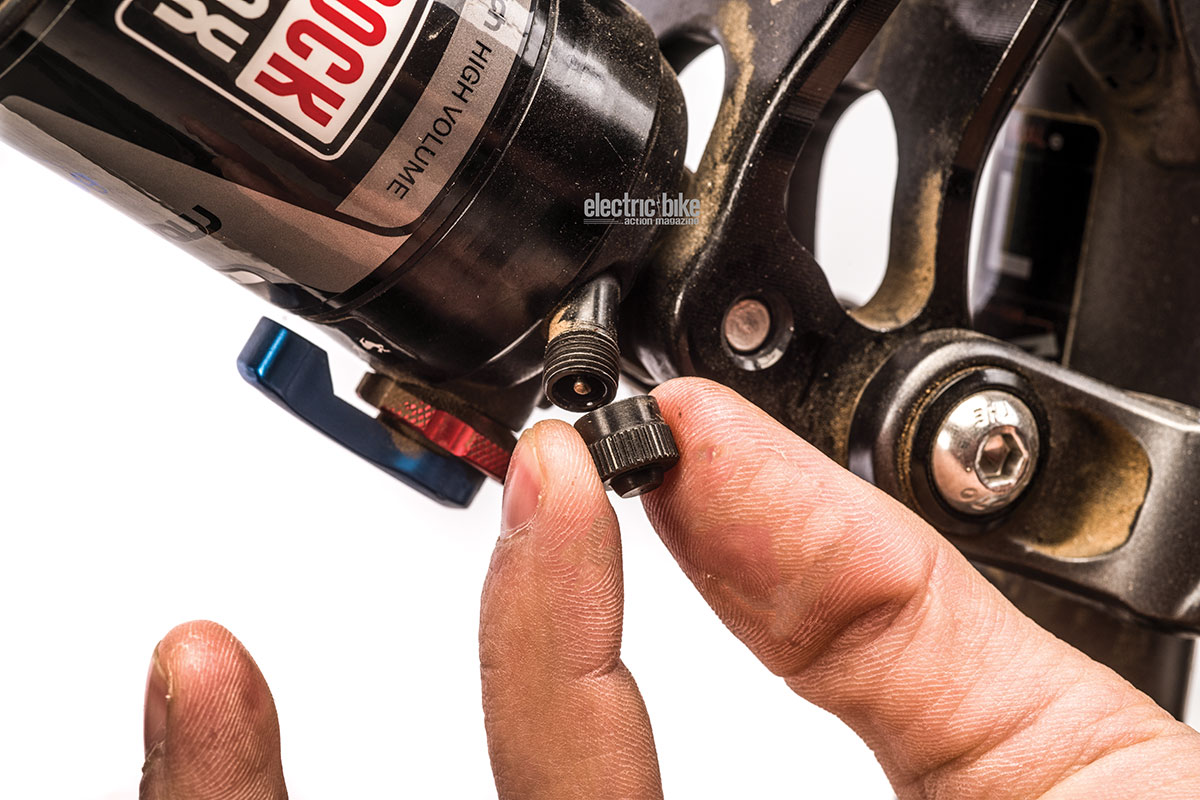
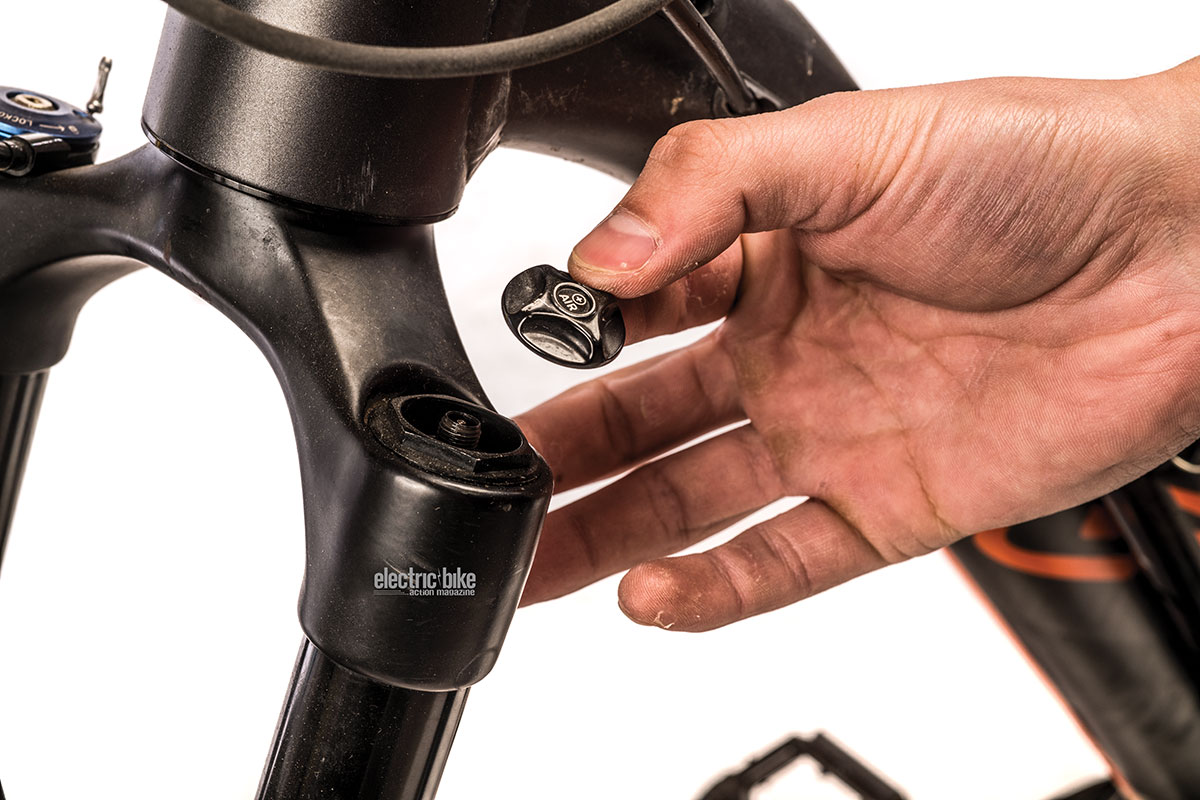
8. Don’t lose the cap for the shock valve. This is more important to keep clean than your tube valves.
If it isn’t where you want it, you can adjust spring pressure to get your sag to the optimum point. Adding more pressure reduces sag while releasing pressure adds sag. When you’re letting out air, use the bleeder valve on your shock pump. Don’t, however, just press on the valve core, because you’ll always let too much out.
THERE ARE SO MANY WAYS TO GET ELECTRIC BIKE ACTION
In print, from the Apple newsstand, or on your Android device, from Google.
Available from the Apple Newsstand for reading on your iPad, iPhone or iPod Touch.
Subscribe Here
For more subscription information contact (800) 767-0345
Got something on your mind? Let us know at hi-torque.com
____________________________________
The post How To Dial In Your Suspension appeared first on Electric Bike Action.