
Sponsored:

Browsing without a VPN is like mailing your passwords on a postcard. Hackers, advertisers, and your ISP are tracking every click.
PureVPN wraps your data in military-grade encryption, making you completely invisible to snoops while unlocking restricted content worldwide. Don’t leave your digital life exposed for another second.
Reclaim your online privacy. Click here to secure your connection now!
Author: BenjaminNelson via YouTube
Go to Source
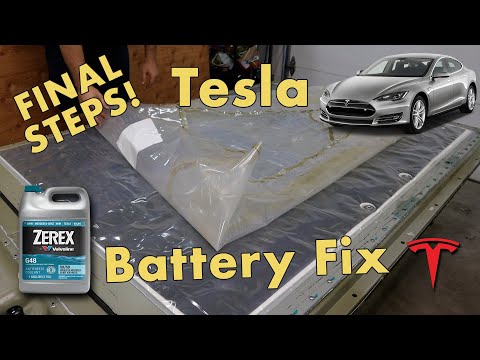
Just a few last steps finishing rebuilding my 2013 Tesla Model S Battery Pack.
Please click SHOW MORE!
After the successful pressure test, I remove my rig and install the test port plug. Then I fill the battery with coolant. After that, I put in place the ceramic blanket and covered it with the plastic sheet, sealed down with butyl tape.
00:00 Intro
00:58 Filling Coolant
02:57 Ceramic Blanket
03:31 Plastic Sheet
05:38 Next Time
G48 Coolant – There are two types. Buy the "ready to use" 50/50 pre-mix OR Use the concentrate and dilute down to 50%: https://amzn.to/469Liir
Butyl Tape: https://amzn.to/42uNZsj
Pressure Test Port Plug (Low-profile): https://amzn.to/4nH4R7H
Step-by-step instructions on how to rebuild a Tesla battery pack can be found at: https://sites.google.com/view/teslahvbattery/home
If you like what I do you can support me at:
https://www.patreon.com/300MPG
By shopping at Amazon anyways: www.amazon.com/shop/benjaminnelson
For more Information, visit:
https://300mpg.org
Most Popular Playlists:
Build Your Own Electric Car: https://bit.ly/2zMufmN
Build Your Own Electric Motorcycle: https://bit.ly/2AT7eOF
Solar Garage: https://bit.ly/2KgQpS5
Contact Ben Nelson:
Please just leave a comment for me at: https://300mpg.org/about/
and I’ll get right back to you.
Music by:
"Inspired" Kevin MacLeod (incompetech.com)
Licensed under Creative Commons: By Attribution 3.0 License
http://creativecommons.org/licenses/by/3.0/
As an Amazon Associate I earn from qualifying purchases. Amazon links help support this these videos.